
Okay. I admit it.
It was me.
I am weak.
Yes, I did say I don't want my house to look like a cabin or a beach-house. Yes, I probably mentioned knotty pine tongue-and-groove (or TNG) by name. But... I was sick of plywood. And to be very honest... TNG is fun to work with!
So I did it. I covered my bathroom walls with 5/8" pine TNG, and it turned out awesome.
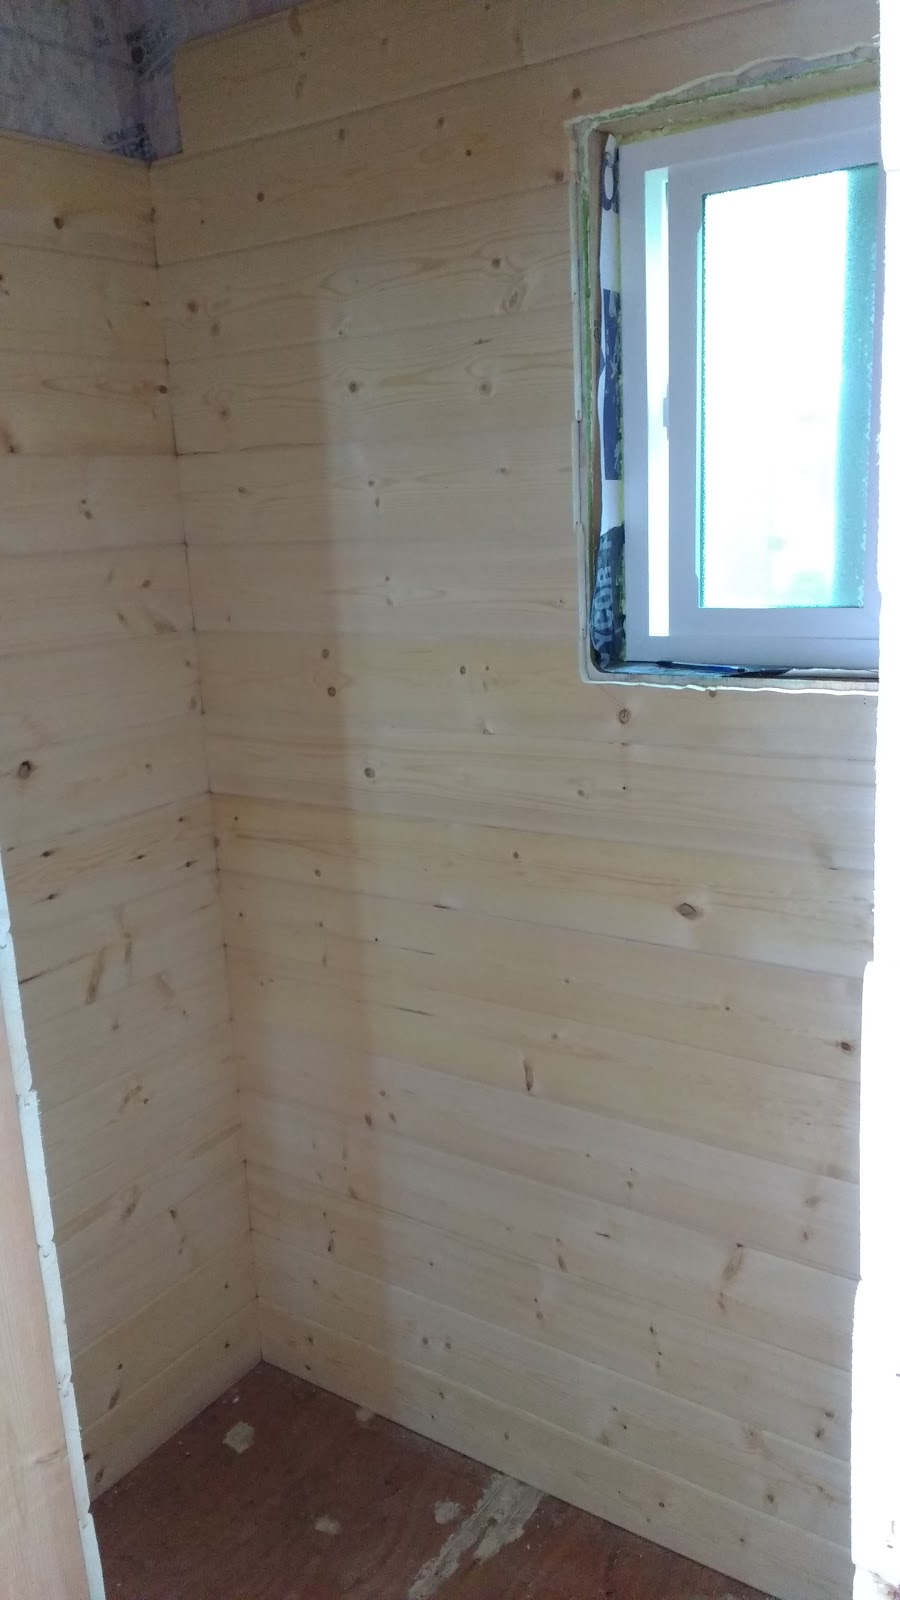
 Goodbye, studs. Goodbye, OSB.
I started with the kitchen side of the dividing wall. I installed the TNG tongue-down at first, but when I transitioned inside, I started installing it groove-down. Groove-down is preferable because you will have to beat the boards into place to get a tight joint; if you're installing them tongue-down, you'll be beating on the groove, which will be visible in the final surface. If you install them groove-down, you beat on the tongue, which will be hidden.
Honestly, though, this stuff is nice-looking, but not so nice-looking that a dent here or there is going to be noticeable. Honestly.
 Now, allow me to crow about something. I'm not normally much of a braggart, but oh boy did I nail those outlet openings!
Not literally. Figuratively. In the sense that I hit the ball out of the park. I did a bang-up job. I showed those outlet openings who's boss. They are the cat's pajamas, the bees knees, and the apple of my eye. I did a good job!
How?
1. I made templates out of scrap 3/4" plywood, just the size of a single and double outlet box.
2. I used a scrap piece of pine TNG to measure/mark where exactly the outlet box would fall on the upcoming board.
3. I traced the correct size rectangle onto the board, in the correct location, and cut out the hole with a rotary saw.
Things got trickier when the entire outlet opening was on a single board. Then I had to leave the next-lowest board unfastened while I was making the measurements in step 2, above, so I could then remove it to wrestle the outlet-covering board in place.
 In order to win that wrestling match, I had to unscrew the outlets themselves from the box and wiggle them through the hole first, then get the board in place. Then I replaced the lower board by sliding it into the space, as shown, and fastened both boards at the same time. I was face-nailing the boards anyway (with brads, which are barely visible), so none of this really interfered with the fastening strategy.
 Inside the bathroom, I was fastening the pine TNG right to the OSB SIP skin (so many acronyms). One rule of thumb with fastening things to SIPs is to increase the fastener pattern, since you're fastening into 1/2" OSB rather than solid wood. Since I switched over to the correct groove-down, tongue-up installation, I decided I would also give tongue-nailing a try. It worked perfectly! Tongue-nailing--or in my case stapling, since the pneumatic brad nailer gave up the ghost on me--is where you drive the fastener at a downward angle through the base of the tongue. That way, the fastener head is at least partially concealed by the next board. This is good; although the brads were very inconspicuous, the staples left more of a mark, and I didn't want rows and rows of staple heads staring at me from my bathroom walls forever.
I filled the wall with leftover rockwool insulation as I went. I had it on hand, it's fireproof, and anything to keep bathroom noises out of the rest of the house, right?

I also did the ceiling with the same pine material. I left off the uppermost course of TNG from the wall while I did the ceiling, and filled the ceiling with rockwool, as well. The last course and then some pine 1x2 trim finished out the bathroom ceiling.
I wanted to get all this done at this point because I plan to start applying the remainder of the intumescent primer soon. And yes, all this knotty pine will get painted over.
But it still won't look like a beach-house! I swear!
Your medicine cabinet is awesome! What a great feature! Also, I bet the pine will look great once painted. Can't wait to see it!
ReplyDelete