I've made some minor changes to my design since I started the blog. I switched plans from a 24"x32" RV bathtub to a standard 32"x32" shower pan. I discovered the possibility of using a fold-away pot filler faucet in the shower stall to serve as a sinkless hand-washing station, rather than a fixed faucet that might get in the way when I'm showering or not reach far enough when I'm using it. I decided that it would be okay for my required 4'6" of bed alcove headroom to be measured between the loft joists, rather than under them--a decision that adds 5.5" to the headroom upstairs, in the loft. I figured out how to hang joists on a SIP wall without interrupting the SIP, by screwing or bolting a rim track made of 2x lumber flat against the interior side of the SIP and hanging the joists with joist hangers from it. And I learned a lot about plumbing and electrical work thanks to a visit to the local library's nonfiction section.
Some of my other design considerations are more of a quandary... or are at least more interesting to discuss.
For example, I wrote an entire post about my electrical system design! But since that might be of limited general interest, here are a few of the more aesthetically-minded design updates.
What kind of siding will I use?
Until recently, I hadn't really considered anything but steel siding: durable, lightweight, fire and weather resistant, easy to install. I figured I'd jazz it up a bit by using a nice color or something, maybe two colors, to make it seem less industrial. I knew about other kinds of siding, but... eh. The clapboard or lap siding, board and batten, shingle or shake, and vertical board siding that I see around town just doesn't do it for me.
Then, one day three weeks ago or so, I was out on a ramble, and high on a ridge I came across this house:

The photo isn't much, I know--all I had was my cell phone, and I felt the need to be furtive because there were construction workers around. But there: that is a different look! And that's all it took to get my imagination ticking over.
What first caught my eye about the house was the colorblocking and mixed media siding. Rather than divvy up different colors and textures among different functional pieces--the siding, the trim, the bit of wall just under the eaves--this house has big chunks of eye-catching color in the middle of the wall. Plus that block of what appears to be vertical tongue-and-groove cedar.
I liked the colorblocking aspect; I had already started to think along those lines for my steel siding. But after I saw this house, I started thinking: maybe I should include some wood in my siding mix, after all. Nothing boring--something more like this. Definitely tongue-and-groove. Natural color, certainly not painted. Modern. Clean.
Then I remembered a Long Story Short House blog post I read about siding a tiny house with charred cedar. The technique is Japanese in origin and is called shou sugi ban, meaning something like "charred cypress" (sugi is a species of Japanese timber tree in the cypress family). Several other tiny house blogs have featured the technique, too: Our First Tiny Home, Tiny Midwest, and Schmidts: Life on a Mission, to name a few.
Basically, you take boards of wood--technically, any wood will work, but in North America, western red cedar (also in the cypress family) seems to be preferred--and scorch one side to a depth of about 1/8". Then you rinse and dry them, (optionally) scrub the loose char and soot off, and (also optionally) treat the boards with a penetrating oil clear coat. The result is blackened, silvery, iridescent, decay-, fire-, insect-, and moisture-resistant, all-natural wood.
At first, I was a little dubious about having a black or charcoal house. I've always had a leaning toward the dark and deep, but still--for a house? Too much. But when I starting thinking about it, I started seeing it: near-black and charcoal-colored houses... well, not everywhere, but here and there in my town. And they weren't shocking or weird; I hadn't even noticed their color before. They just maybe look a little more sophisticated than their neutral-pastel neighbors. Hmmm...
And as I researched the concept more on architecture and design websites, I found that nearly every article about black and shou sugi ban houses mentions at least one example in Scandinavia. I'm always looking for ways to acknowledge my Scandinavian ancestry, so my interest was fully piqued.
So now I'm thinking of having the tall, window-full side of the house in shou sugi ban, and the rest in some sort of clean, contrasting steel. Maybe galvalume (similar to galvanized steel, but reputedly more durable). I'm thinking I'll put shou sugi ban around the door, too, to make it stand out. And paint the door red--in case anybody still misses it! Silver, black, and red--a classy combination, no?
Until I change my mind again...
What kind and color of metal roof?
I will use a metal roof on my tiny house because metal roofs are light, durable, wind-resistant, and quick to install. As far as I have learned, the two main types of metal roof are standing seam (or concealed-fastener) and exposed-fastener. The first provides a more polished look because the screws are hidden. The second is more industrial- or agricultural-looking, but from what I can tell, pretty dead simple to install, and relatively cheap--right now at Home Depot, you can buy panels of exposed-fastener roofing for under a dollar per square foot.
 |
| Photo by Pko (own work). Licensed by CC BY 3.0-2.5-2.0-1.0 via Wikimedia Commons |
Above: standing seam metal roof
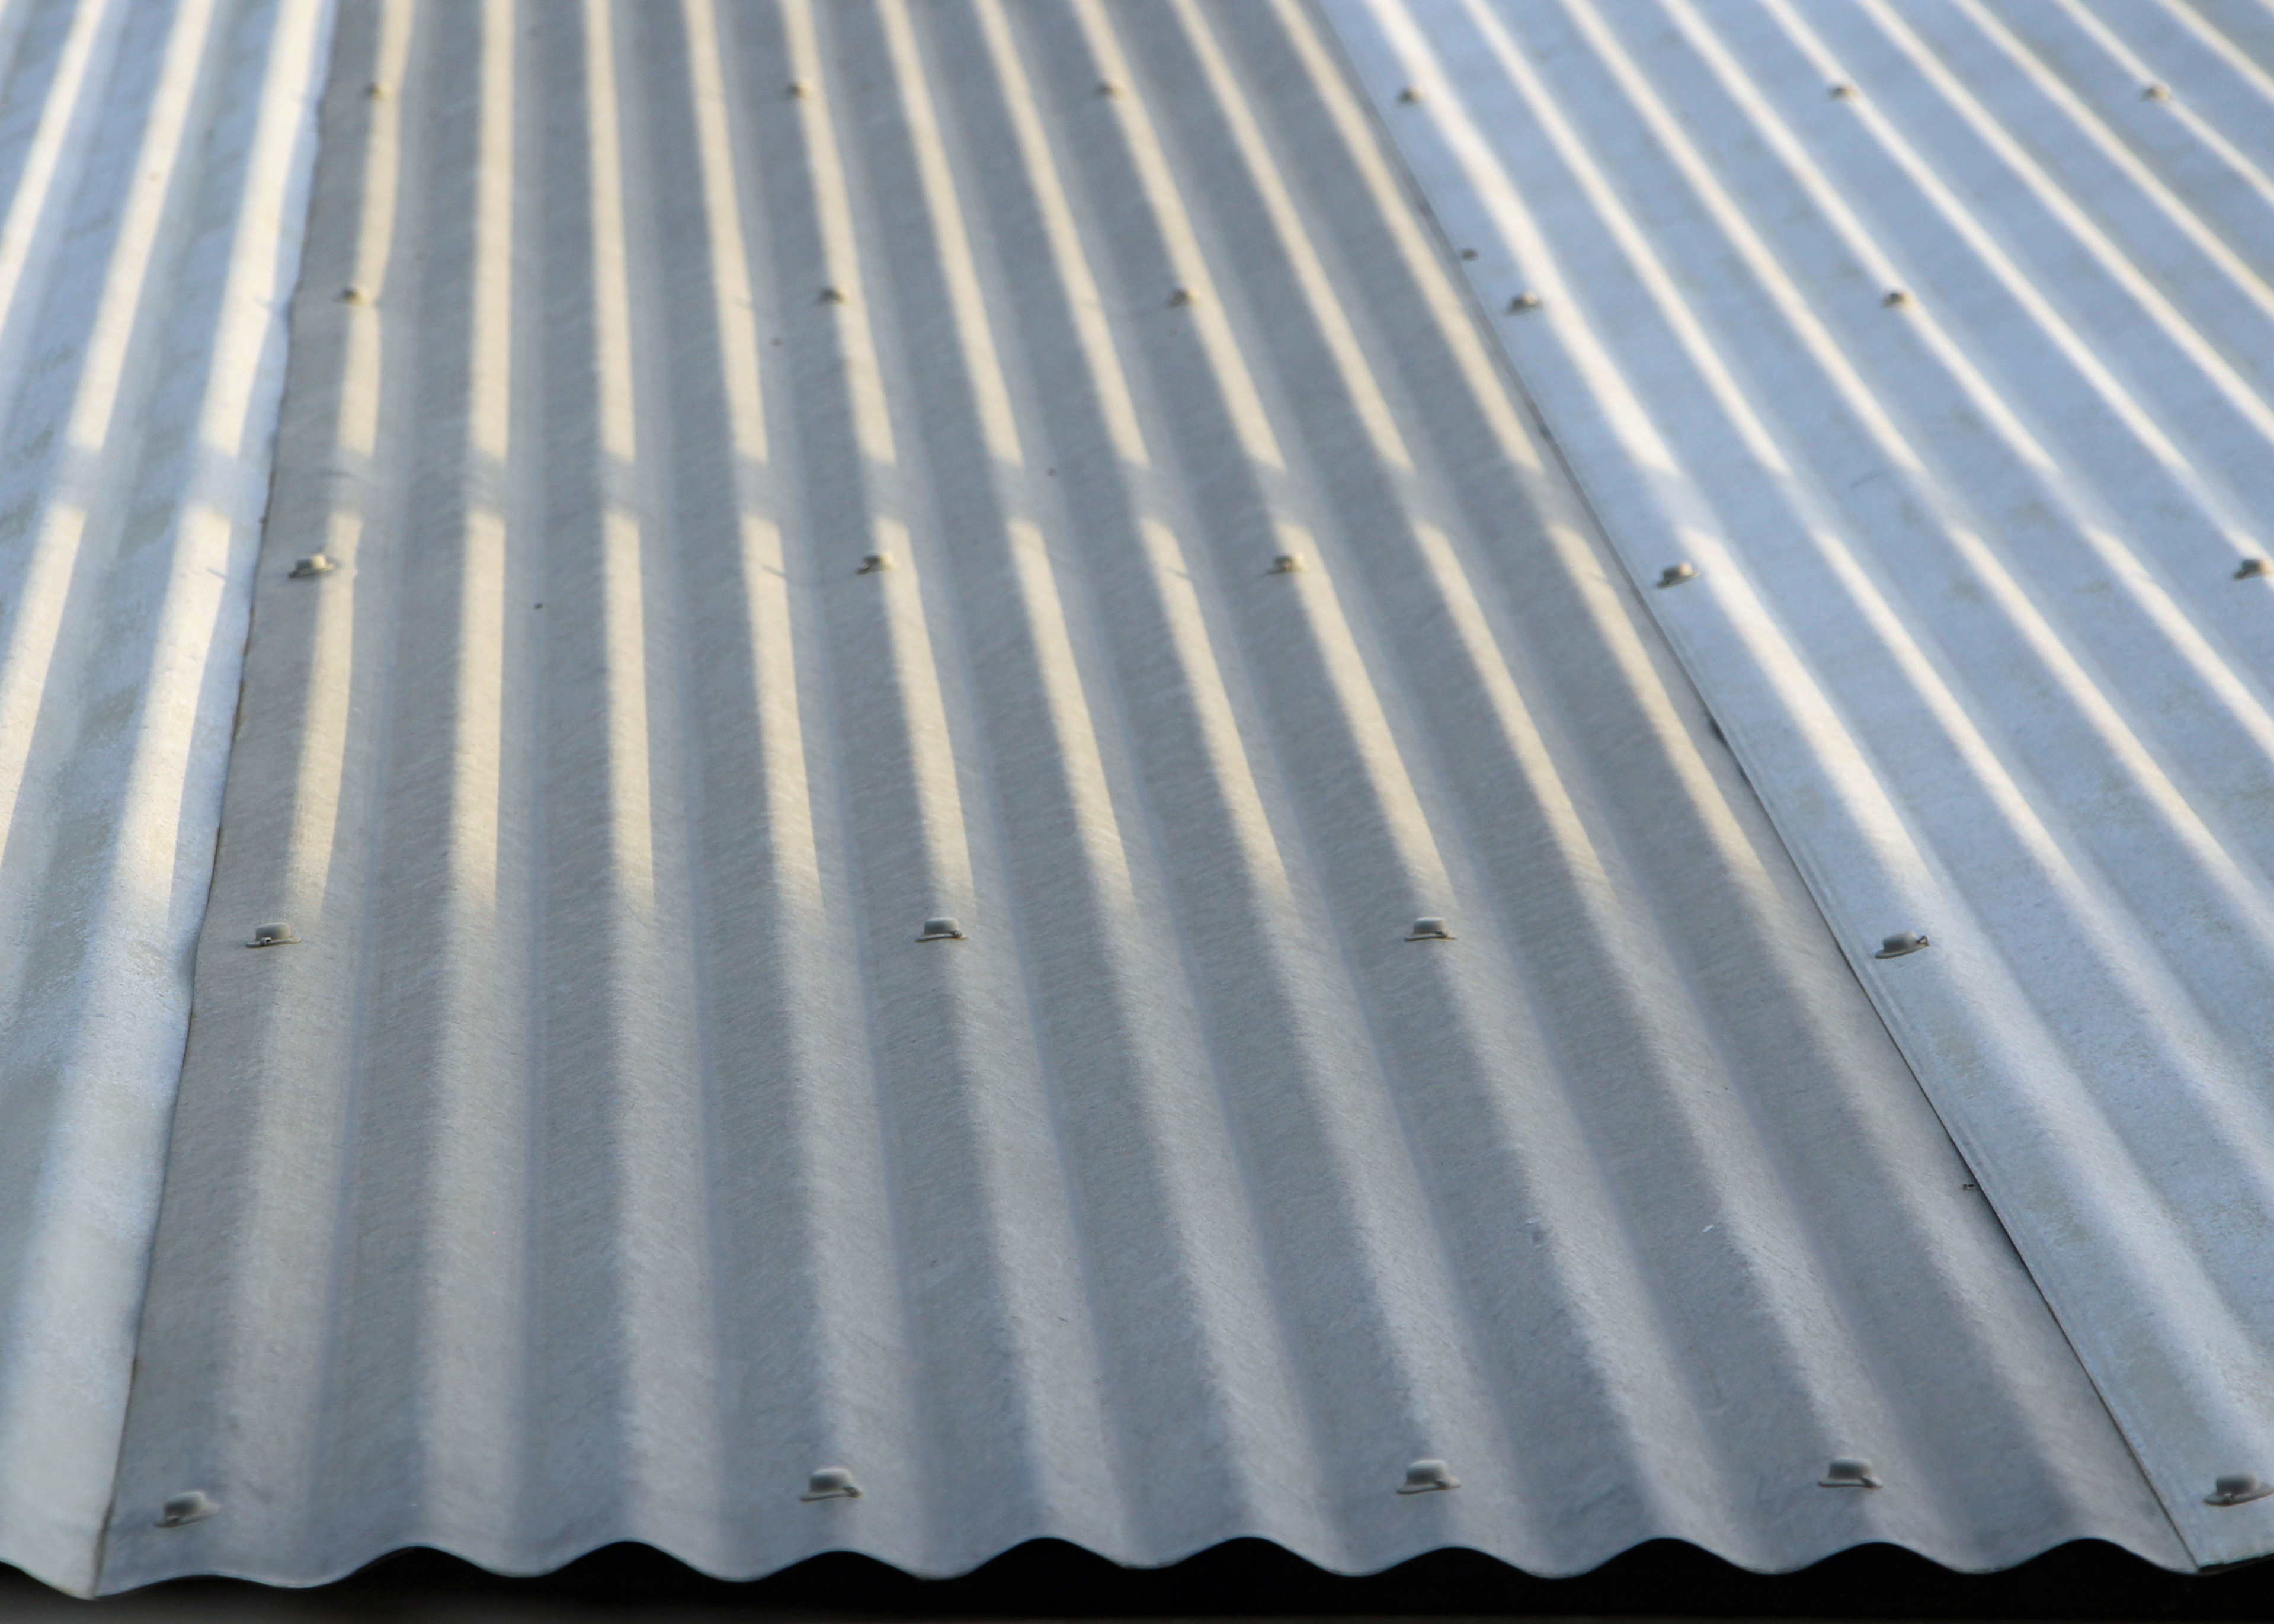
Below: exposed-fastener roof (actually not metal, but you get the idea)
 |
| Photo by HelenOnline (own work). Licensed under CC BY-SA, via Wikimedia Commons |
Both standing seam and exposed-fastener roofing can come in a variety of textures or rib profiles. Standing seam roofing typically has sharply defined ribs with a smoother, flatter expanse between. Exposed-fastener roofing panels are available in a more diverse array of textures, but tend to be more densely populated by ribbing of one or more sizes (no flat expanses). Simple corrugations, as shown above, are easy to find but more often used on sheds, chicken coops, and other very basic shelters--not for human residences. I think it's purely an aesthetic thing, but I could be wrong.
Something that concerns me about standing seam roofing are the installation requirements. Namely, some of the installation guides I've read require that the screws penetrate at least 1" of wood. It makes sense, since the attachment points are fewer and farther apart on a standing seam roof than on an exposed-fastener roof like this one, where a row of screws flanks every major rib in the field on the panel, maybe every 8-9", rather than just on the edges of the standing seam panel, every 12-20". But you can't hope to hit a rafter with every single screw, and the plywood roof sheathing will only be 1/2" thick. Consequently, I would have to install nailers or purlins on the roof to provide the proper 1" thick attachment surface. That adds weight, expense, work, and an air gap between the metal and sheathing--none of which I'm sure I want.
Plus, standing seam roofs are more expensive per square foot to begin with. They look better, yes. But I don't think exposed-fastener roofs are all that ugly. I don't mind them in the least.
So at the moment, I've settled on an exposed-fastener metal roof. Something I can pick up at a low price from a local big box store, trim to fit my roof, and finish with equally easily-obtained drip edge and flashing.
With that decided, what about color? You can buy metal roof panels painted in red, green, beige, white, blue, brown, and gray, as well as left in their natural white-metal tone. If you look further afield, at the major metal roof manufacturers, you can find an even wider range of colors and metal tones. Not only that, but metal roofs come in other types of metal; copper would be quite the bold color statement, since it starts out reddish-brown (you know, coppery) and weathers to a milky blue-green patina.
I don't want beige or brown, let's start with that. Red roofs are classic. I like green and blue as colors, so a roof would be acceptable in either one. White? Might get dirty, but okay. Gray? Maybe a bit dull. Natural metal color? Shiny, futuristic and classic at the same time--sure.
But which one?
Let's think about heat absorption. The tall, dark (and handsome) side of the house will face south, if possible, for passive solar benefits in winter; up here near the U.S.-Canada border, the sun sinks pretty deep into the southern horizon in winter, and southern exposure helps enormously to keep the house--and the mood--light and warm. But if the tall side of the house faces south, the roof will angle toward the north and will not contribute to heat absorption during the winter. But, being a roof, it will absorb heat during the summer, when the sun is more directly overhead and heat absorption is less desirable.
That means the roof should be a lighter, more reflective color. It won't matter in the winter, and it'll keep things cool in the summer. That pretty much immediately narrows us down to white or natural metal, and since white might start looking grungy and dirty faster... natural metal it is. Like galvalume.
Hey! That means I can match my roof to my siding! I'm actually thinking of doing this--of using the exact same material for both the roof and the non-shou sugi ban parts of the walls. It'll be a little like Shelter Wise's Miter Box tiny house, but less symmetrical. I rather like asymmetry, like in this tiny house--and the way the builder wrapped the corrugated metal siding around the corner of the house rather than use two separate pieces.
How and where to add storage--and how much?
Storage is a major consideration in tiny houses. It's quite easy to design a gorgeous, spacious, airy tiny house... if you leave out all the storage space! On the other hand, it's also easy to get carried away with storage and end up closing the space in with 360º of cupboards.
My plans originally just called for a rather low bathroom ceiling height and a 36" x 87" storage loft above it. I figure I'll probably use it to store a couple of bins or boxes of stuff that I can't bear to get rid of, but that I don't use very often: my scuba/snorkeling equipment, my camping and backpacking gear, the custom silk evening gown that I had made-to-fit for a white-tie ball a couple of years ago--you know, just the normal stuff, right? (Ha ha...)
I will also have a pantry cupboard next to the fridge with slide-out shelves. And a length of rail to hang clothes in the loft over the bed. And some cubbies around the edge of the entry landing for kicked-off shoes. Good enough.
But then I started thinking about the things that I actually do use frequently and/or will want to keep immediately handy. It's not just food, a few shoes, or my nice, hangable clothes. What about my sweaters, pajamas, heavy work pants? Writing materials? Important personal documents? Books? Emergency kit? Cleaning supplies? Spare toilet paper? Yeah, I didn't really think this through the first time around, did I?
The challenge is to add storage space without actually taking up much more space. I decided first off that I'll need some kind of set of drawers. File cabinets have a small footprint and can be got second-hand for cheap and refurbished--a great solution to add storage to the loft without eating into the floor area for sitting, eating, and relaxing. Then I remembered the idea of stairs with built-in drawers, as depicted here, here, and in the house whose asymmetrical siding I was admiring, above. I'll have three stairs that can accommodate drawers, adding a total of about 8 cubic feet of storage with zero increase in the amount of visually occupied space. A medicine cabinet inset into the bathroom wall accomplishes the same thing--it occupies space that was already occupied. And hey, why not expand the pantry cupboard over the fridge and integrate it more with the storage loft? If that's still not enough, maybe a floating shelf between the kitchen windows and the clerestory windows above them...
But as I mentioned before, there is a danger in having too much storage space. I don't want to have too much stuff. While it's put away, the storage space itself takes up space; and when it's not put away, it clutters up what vacant space is left in my house and my mind!
So I'll probably start with the stair drawers and medicine cabinet and add to my storage space as I see the need.
If this post was too text-y (sorry--I refuse to publish images that I don't have explicit permission to reproduce), I post many of my less esoteric design ideas on my Pinterest board. Check it out!
No comments:
Post a Comment